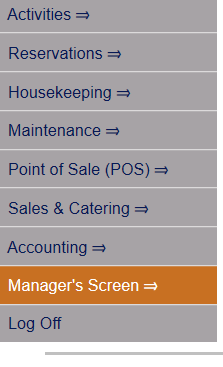
From the Full Menu -> Other section, click Manager's Screen -> Configuration.
Click the icon on the left for the Full Menu.
![]()
This will display the Full menu in a tabular form, with four sections, Registration, Status, Cashier and Other.
Select Other from the Other section.
This will take you to the Other Front Desk Tasks menu, which has four sections, Other List 1, Other List 2, Documents and Web.
Select Manager's Screen to be taken to the MANAGER'S COMMANDS screen.
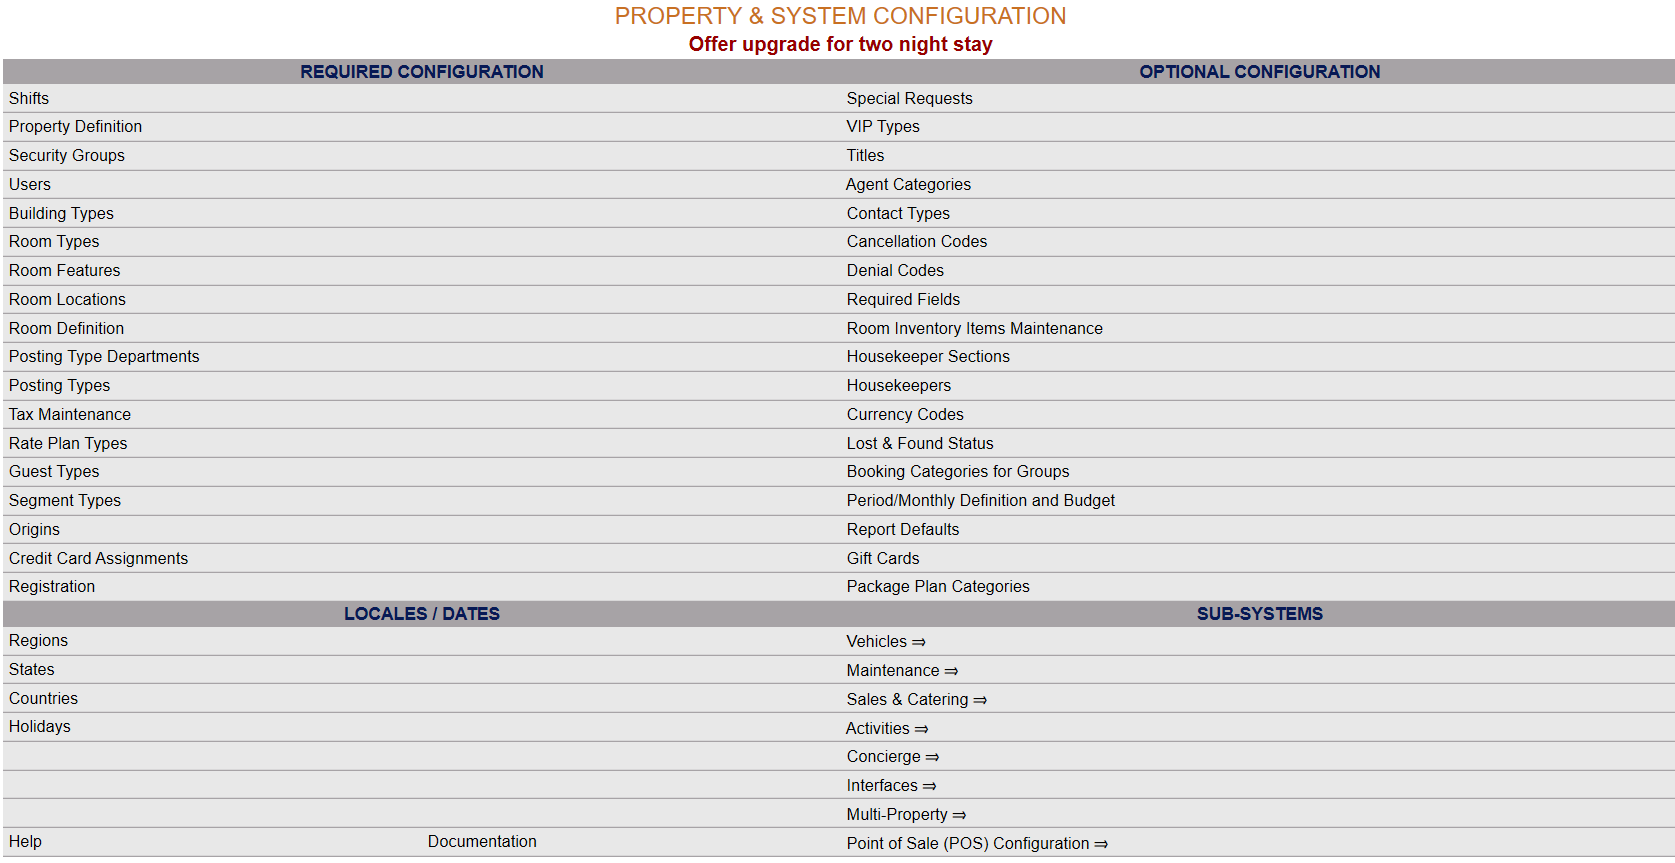
Select Configuration to be taken to the PROPERTY AND SYSTEM CONFIGURATION screen.
OR: From the quick menu (left) choose Manager's Screen to be taken to the MANAGER'S COMMANDS screen.
Select Configuration to be taken to the PROPERTY AND SYSTEM CONFIGURATION screen.
Note: Alternately, you may also be able to select Configuration directly from the Quick Menu, if the menu has been set up to include the Configuration option.
This will take you to The Property System Configuration Menu.
The list of property configuration options are divided into four sections, which are Required Configuration, Optional Configuration, Locales/Dates and Sub-Systems.
Select Interfaces => from the Sub-Systems section of the Property System Configuration Menu.
The Interfaces Maintenance Menu contains four sections, three of which contain commands:
The Texting Custom Messages (Activities) command is in the Texting Interfaces section.
When selected, the Texting Custom Messages (Activities) screen will open.
The Texting Custom Messages (Activities) screen display is split into two frames, with the left side of the screen listing the custom messages already generated and the right side containing the fields you need to complete in order to add or edit the custom message for the Property. Any changes made on the right, once saved, will be updated in the listings to the left.
Note: The custom message field on the right displays the body of the generated text message for quick review purposes, but is READ ONLY. To edit the body of the text message you must first click the gray "Open this Custom Message" button.
The currently configured options are displayed by:
List Order: The order the text messages are arranged by.
Description: The name or description of the custom text message.
Your options include the following:
Generate a new entry:
Click the New ![]() button from the toolbar to add a new custom text message entry. Complete the fields described below.
button from the toolbar to add a new custom text message entry. Complete the fields described below.
OR:
Select an existing custom text message entry from the list on the left, and click the Replicate ![]() button from the toolbar. Then change the field information as described below.
button from the toolbar. Then change the field information as described below.
Edit the current selection:
Change the field information.
List Order: This determines in what order the custom text message entry appears listed in the interface.
Enter a number into the List Order field.
This field is optional, however it we recommend that you list the custom text messages in the order you prefer. This makes it easier for staff to find the custom text message entry they need quickly.
Description: This is the name or description of the custom text message.
This field is required.
Custom Message: This field displays the body of the text message associated with the text description. This field is READ ONLY on this screen; to add or edit the text message you must click the gray "Open this Custom Message" button.
This will open the Text Document Editor screen.
Note: This screen is similar in appearance and use to the Document Editor screen used when creating or customizing your own documents, however as it is for text messages only, there is no custom font options or grid insert options. (Plain text only).
Type the desired text of the message you wish to generate into the field directly.
You may also select TOKENS to enter into the text.
Tokens represent information such as hotel name, guest name or room number and may also be added into the body of the text to help tailor the message to the individual guests receiving it. These use a specific token ID to pull the individual data from your Property. When the text is sent, the token IDs are swapped out for the actual data. Skyware has lists of the names of the token IDs available for you to select from. Ensure that you select the correct token ID desired - for example there may be several last names associated with a stay - the token ID means that you can specify the correct last name to use, rather than all.
TWO sets of tokens are available on this screen.
1) The general tokens, also known as the basic tokens, available everywhere may be viewed in the drop-down menu that appears on the screen when clicking the box "Select Token to Insert..."
These tokens include the more general information associated with your property, such as hotel name or address, room number, arrival date etc. Click on your selection in the drop-down menu to automatically place the token ID associated with it into the body of your text.
2) The second set of token IDs available for inserting into this custom text message is reached via the orange "Go" button to the right of the basic token ID drop-down bar. This second set is specific to the type of custom text message you are generating.
Note: Custom messages for stays and activities are generated separately. Entering the document editor from the custom text message (stays) screen means you will have a different set of token IDs available than those available by entering the document editor from the custom text messages (activities) screen.
Clicking the orange "Go" button will open a pop-up window of available token IDs.
Again, selecting one from the list available will automatically insert it into the body of the text.
Note: As can be seen in this example, the token ID may not be easily recognizable for what it represents once it has been embedded into the text. Be sure to make your selection carefully. (Please contact Skyware if you are having trouble using or locating the token ID).
Once the body of your text has been completed to your satisfaction, click the orange button "Save Document >>"
This will save the custom text message and return you to the Texting Custom Messages (Activities) screen, with the details of the text you have just been editing displayed on the right side of the screen for viewing.
Once the text message has been saved , it will be available for selection in the (Confirmation, Reminder, Cancellation and Follow-Up) text fields on the General tab of the Schedule Types screen.


 command.png)
 screen.png)
 editor screen.png)
 document text.png)
 document general token.png)
 document general token schematic.png)
 document go button.png)
 document go pop up.png)
 document go selected.png)
 text completed.png)
 text screen.png)